I Finished It Friday: Pottery Barn Eagan Mirror
I have had my eye on this mirror for years…
 |
||
| Photo Credit: PotteryBarn |
I love the multipanel design…it’s just gorgeous!! But at a cost of $700.00…all I could do was dream. Well, dream no more! This mirror is now in my house!! Did I finally break down and buy it? No, silly…I made it!!
It really was pretty easy. And did I mention extremely cheap!! I made mine for about $90 bucks!
Here’s the break down of what you will need to make this fabulous mirror…
(20) 8×8 mirrors
(1) plywood sheet
(3) flat molding strips 8 ft. long
(2) corner molding strip 8 ft. long
(12) mirror rosettes
(1) can Rust-oleum Metallic Oil Rubbed Bronze spray paint
(1) bag of tacks
The very first step is to decide how big you want you mirror to be. The large one pictured above has 5 rows down and 5 rows across for a total of 25 mirrors. I didn’t want a mirror that big, so I adjusted my mirror to 5 rows across and 4 rows down, for a total of 20 mirrors. Once you have decided on how many mirrors you need, I suggest shopping at Hobby Lobby. I got my 8×8 mirrors there for 50% off the regular price.
The next step is to measure your plywood for the cut. I did this by temporarily laying all the molding and mirrors down first to get an exact width and length. I then marked the plywood and cut with a circular saw. If you prefer, you could measure all the items and do the math to get the measurements. But for me, let’s just say, math and I don’t get along!!!!
It was then time to cut the corner molding. I measured and mitered the corners with my compound miter saw. I then attached them with my favorite BFF…my nail gun.
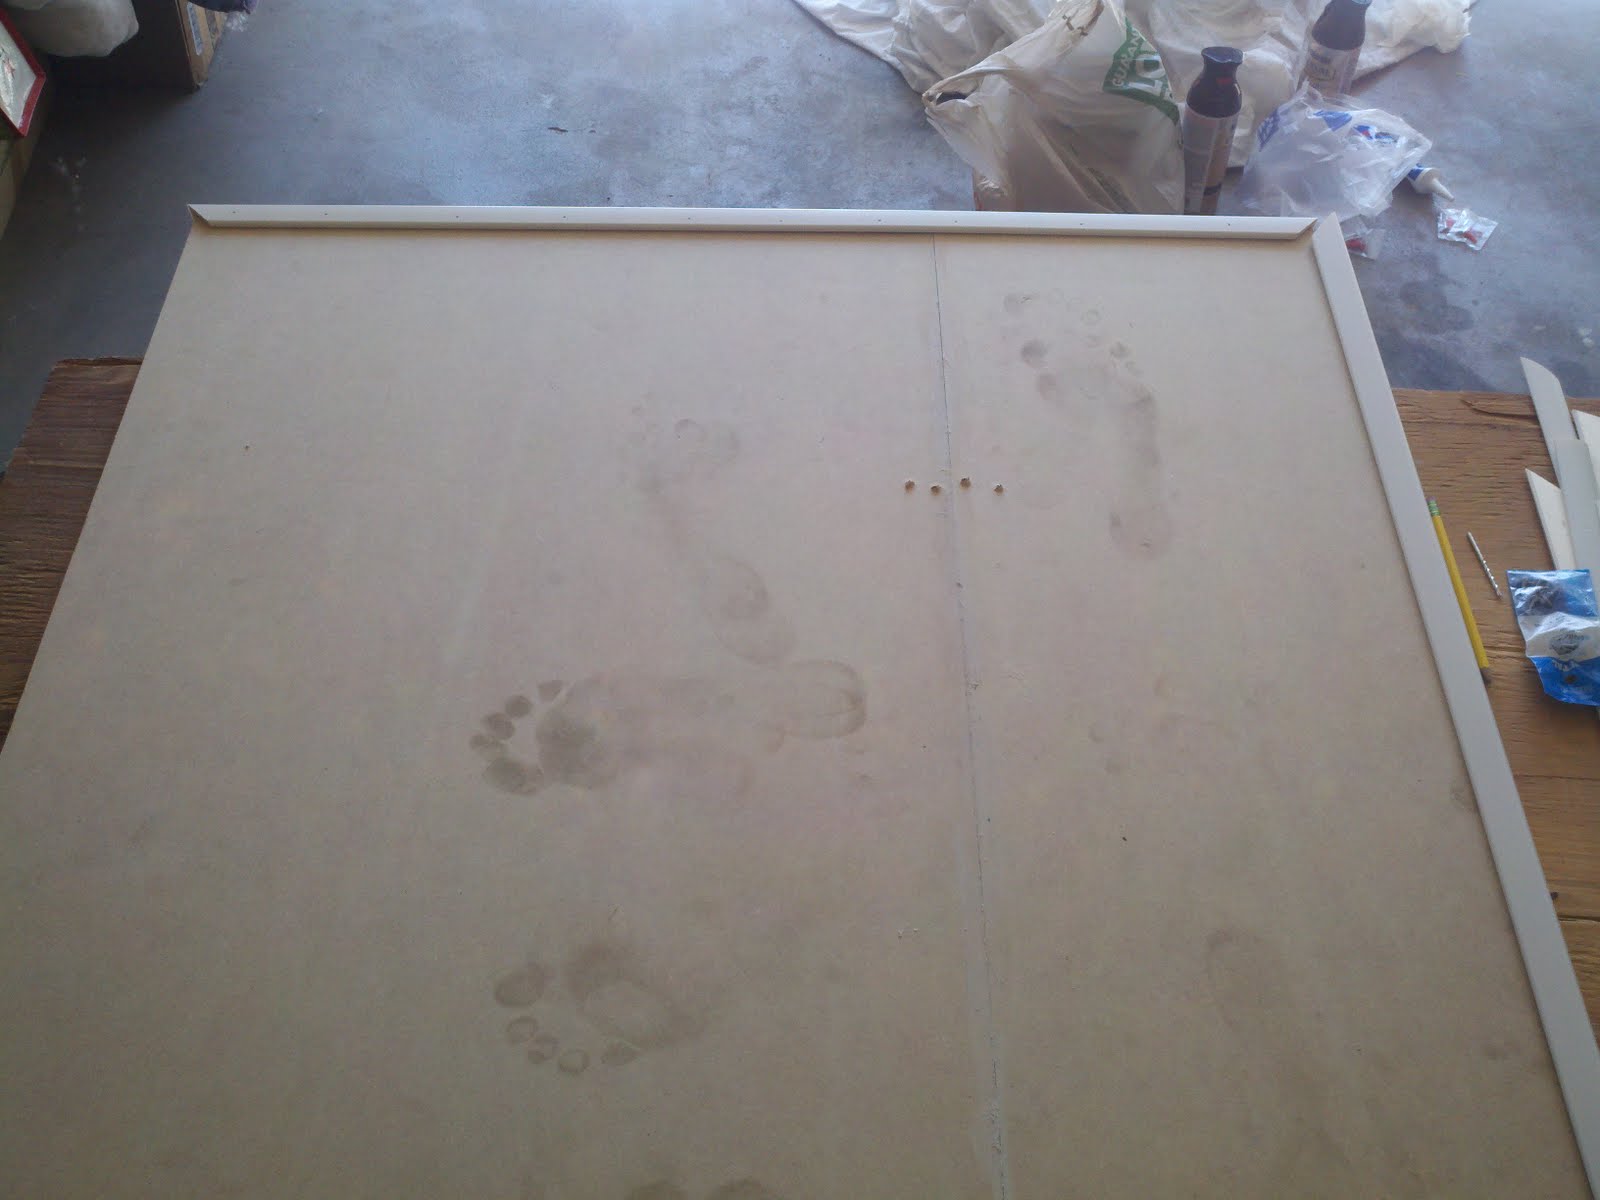
Do you like the foot prints?? Nice, huh? Apparently walking around barefoot in your garage can get your feet rather dirty! It’s ok though…that will be our little ‘dirty’ secret!
Next, I placed the long middle molding on like so…and placed mirrors in place to make sure everything would fit correctly…
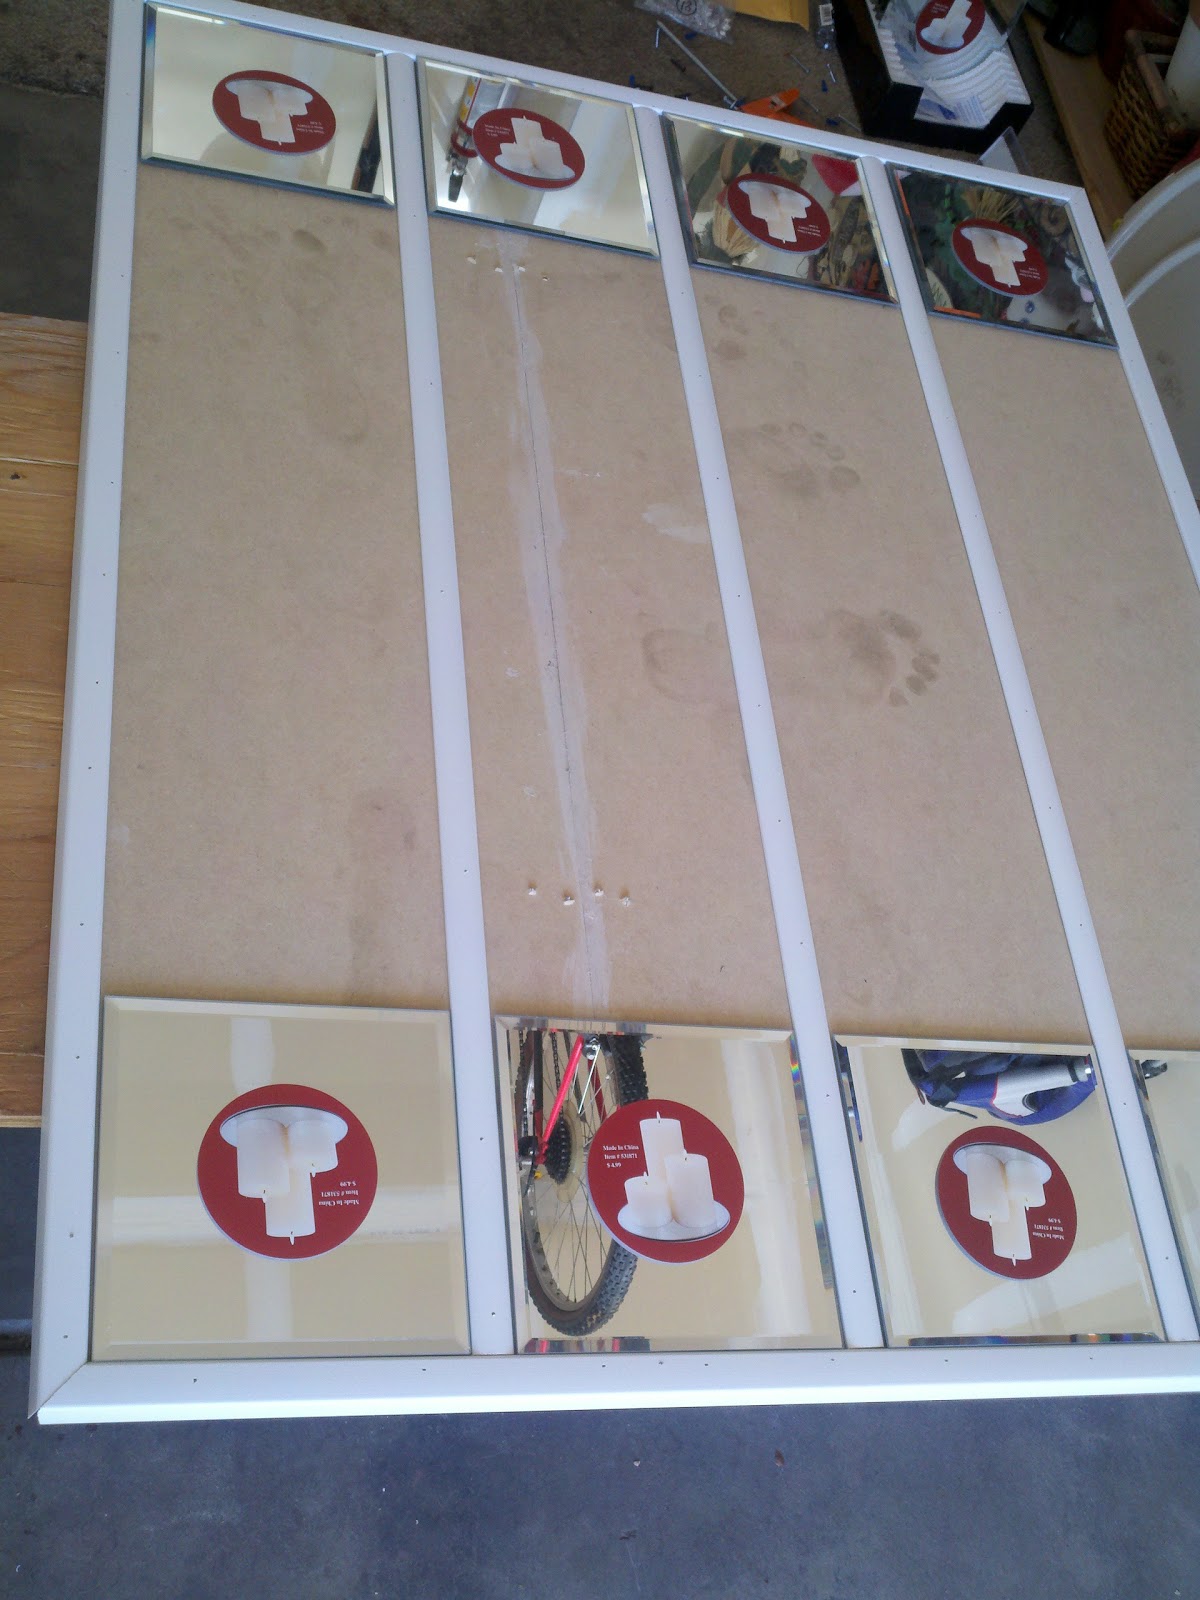
I then nailed those guys in place.(You could also use wood glue if you don’t have a nail gun.) After that it was time to cut the cross pieces which takes a little more time, but once you get going, it goes pretty fast. I strongly advise to use your mirrors as guides so that everything fits correctly.
After all the frames were built and nailed down…it was time to spray paint. I gave everything one coating. I then attached the mirror rosettes. The mirror what, you say?? These guys…

I ordered 12 plastic mirror rosettes from HERE and with shipping the total was $8.19. I attached them with a ‘cut tack’ from Lowes. I then spray painted them and the whole frame again.
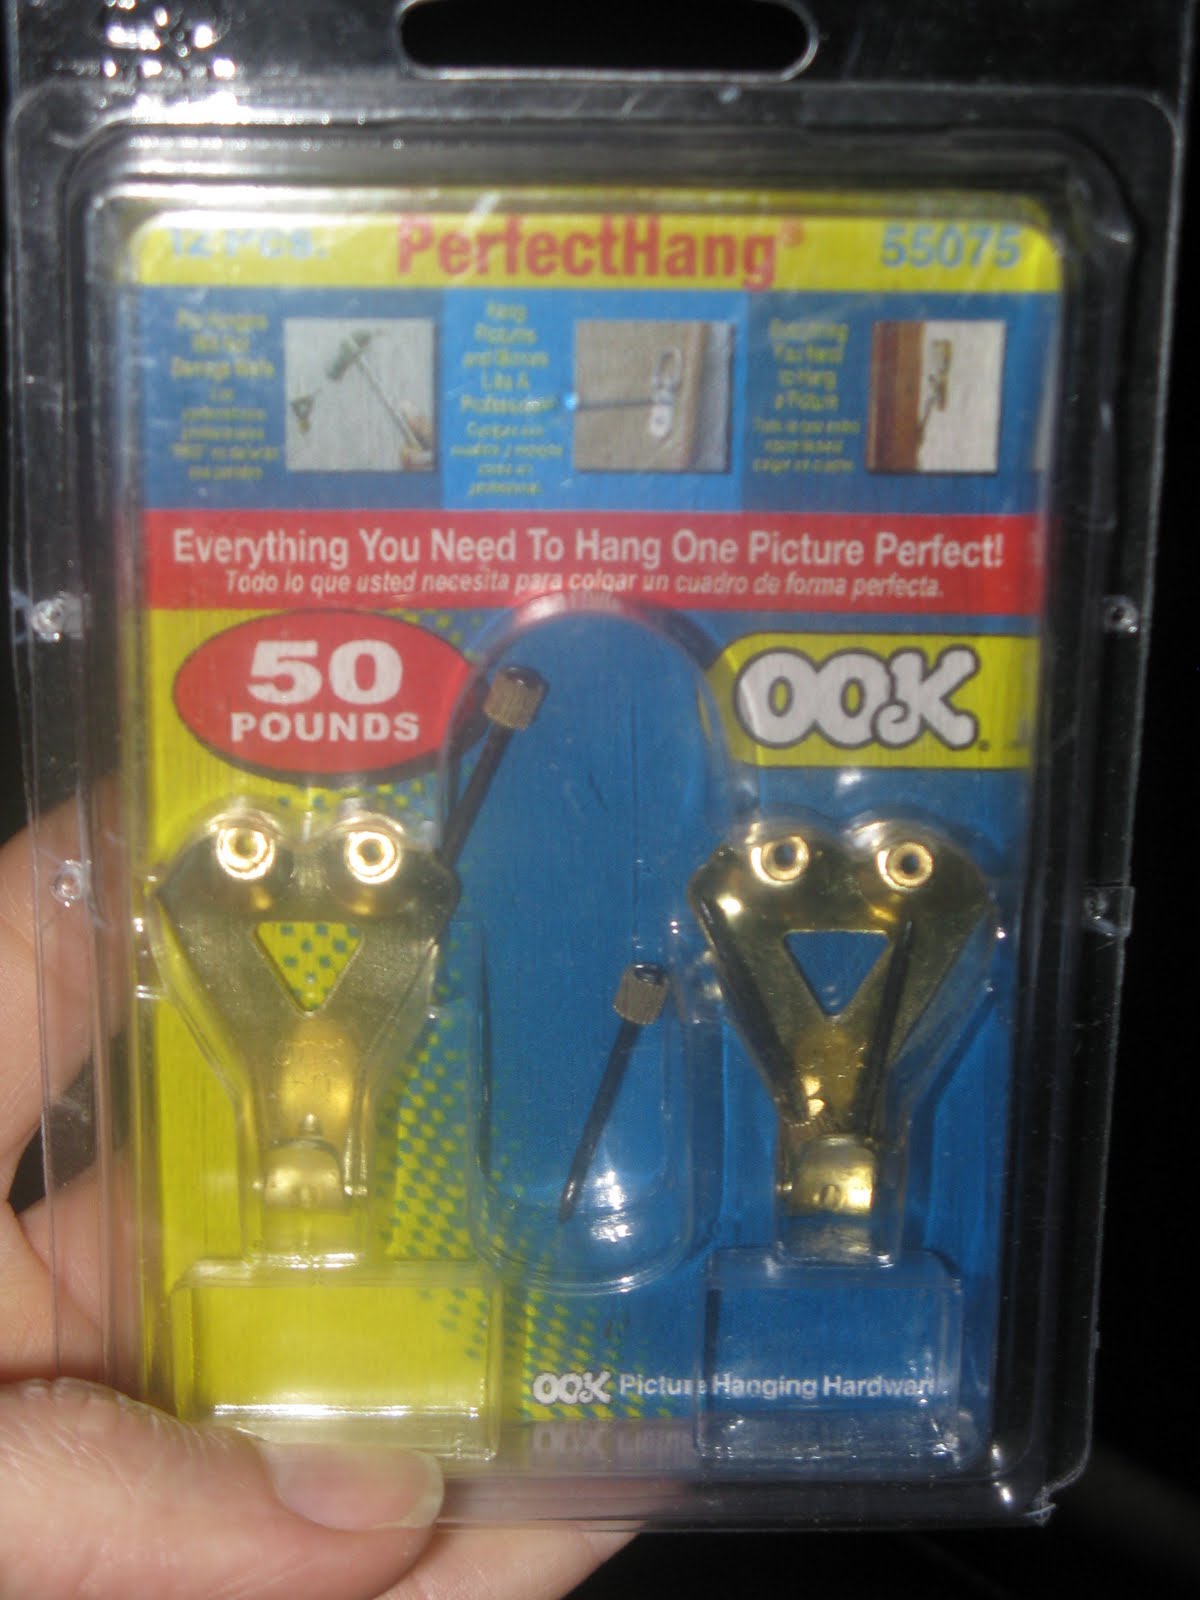
Once everything was I dry, I attached two ‘D-rings’ to the back of the frame in order to hang the mirror on the wall. I also used these 50 lb. hooks, just to be safe! 😉

Then the final step, attach the mirrors. I purchased some Liquid Nails Mirror Adhesive and attached each mirror tile. And this is the finished project….


I see you!!

And just for fun…a picture with a view of the evening look…

There are a couple of great tutorials on this same mirror that I wanted to share with you, the smaller version and the larger version.

I love my new mirror! It seems to have opened up the whole room!! And I have to admit, I love it even more knowing that I didn’t have to spend $700 plus change to get it!!
Another finished Friday project, have a wonderful weekend!! 🙂
Stopping by from the Alexa hop. Have a good day!
http://www.meldreamsoften.com
WOW!! That is impressive! I love it. Would love something like that in my house, although I’m not sure where I would put it. Still amazing though!!
Found and now following your blog through the Facebook Follwer Friday hop!!
Omgoodness! This is exquisite! What a unique and beautiful site!!!
We found you through the Mamato4Blessings Blog Hop!!!
Feel free to stop by our blog!!
http://3fabulousmommies.blogspot.com/
-Leslie from Three Fabulous Mommies
That’s beautiful. I can’t believe you made that…wow! Great idea!
That is so awesome!
thabal628 (at) gmail (dot) com
That’s amazing. I love the tutorial.
I so have to make this for my daughter.
New follower from Let’s Get Social Sunday.
Hope you follow back.
http://grandmabonniescloset.blogspot.com/
Fabulous! I actually was just thinking of making one of these myself and now I know how.
It looks really amazing!
It is absolutely gorgeous!! Your tutorial was great too. 🙂
Love it! I want one or two those myself but will not pay $700 each. I might try my hand at making one, thanks to your tutorial.
Love this! I need a mirror for the end of my hallway, so I think I’ll try this in different dimensions. Pinning yours now…
Love this – beautiful!! Can you please explain to me what a mirror rosette is and what it does? Reminding myself that only the unasked question is dumb. Thanks.
Shannon, I have a picture of the mirror rosette above. It’s basically a clear piece of plastic that I placed at the cross points of the wood in the mirror frame. It’s only purpose is to look pretty. 🙂
Oh, and you are right, no questions are dumb…ask away. 🙂
What a great idea! I just stumbled upon this site while searching for ideas to redo my study into a kid-friendly homework station/office. I am going to redo my downstairs bathroom and this game me an idea of what to do with the stock builder’s mirror when I remove it. Could I simply attach strips of molding to give the mirror a look like this one? What a great website, thank you for so much inspiration!!
I love this and totally want to do it — where did you buy your beveled mirrors?
Thanks Lauriejo! I purchased my mirrors at Hobby Lobby.
Love the mirror! Couple of questions: Do you recall the thickness of the plywood you used? And, did you screw the D-rings directly into the outer trim/corner moulding piece, or did you screw the D-rings into the back of the plywood? I’m wondering if it would be necessary or beneficial to add a small piece of wood (like a shim) for support or to fill any gap between the back of the plywood and the wall created by the corner trim pieces used as the frame … Any chance you have a photo of the back of your mirror prior to hanging it on the wall? Thanks!
What are the final dimensions of the mirror you made? This is amazing and I am planning to make this next weekend. Thank you for the post.
In the middle of this project. The corners are a nightmare, the plywood was not cut straight at Home Depot. All the wood is bent just enough to Make it difficult. This is turning out to be a two day project. No nail gun. I wish we had rented one.
Hi Stacy! You previously asked for the final dimensions: around 37×45 is what mine measures. Sorry about your plywood not being cut straight, that can make thinks tricky. But don’t be discouraged because you have no nail gun. If I had to make this mirror again I would just use liquid nails — (glue adhesive) — and skip the gun. Hang in there dear and let me know how it goes! 🙂
Hello,
I just found your dupe for the Pottery Barn mirror and would love to try this. My husband is asking how thick was the plywood you used? I really appreciate it. I was looking at this mirror today and want it so badly but the $700 price tag is way too much along with the $200 shipping they want to charge. Thank you for any help you can provide.
Hi Michelle! I think I used 1/4 – 1/2 inch. You could even use particle board if you like – or if it’s cheaper. 🙂 Hope that helps and good luck on the build. (And I’m so sorry the pictures for that DIY are soooo bad. It’s a 12 year old post and I no longer have access to the original photos. You can see a better look at the mirror in one of my newer home tours here: https://inspirationformoms.com/simple-fall-decor/ ) 🙂